Table of Contents:
1. Introduction: A Detailed Tutorial for a Popular Value Adding Winnipeg Hardscape Project
2. Chapter 1: Blueprint and Budget – Your Project’s Foundation
Dreaming and Designing Your Path
Crunching the Numbers for a Budget-Friendly Build
3. Chapter 2: Material Mastery – Choosing Your Pavers and Base
Paver Options for Style and Savings
The Unsung Hero: Your Gravel and Sand Base
4. Chapter 3: Groundwork for the Great White North – Excavation and Base Prep
Digging In: The Right Way to Excavate
Building a Winnipeg-Worthy Foundation
5. Chapter 4: The Art of Installation – Laying, Cutting, and Setting Your Pavers
The Lay of the Land: Placing Your Pavers
Edging and Cutting for a Perfect Fit
6. Chapter 5: The Finishing Touches – Sand, Sealing, and Long-Term Love
Locking It All In with Polymeric Sand
Protecting Your Investment from Prairie Extremes
7. Conclusion: Step Back and Admire Your Handiwork
1. Introduction: Welcome to Your Spring Winnipeg Hardscape Transformation
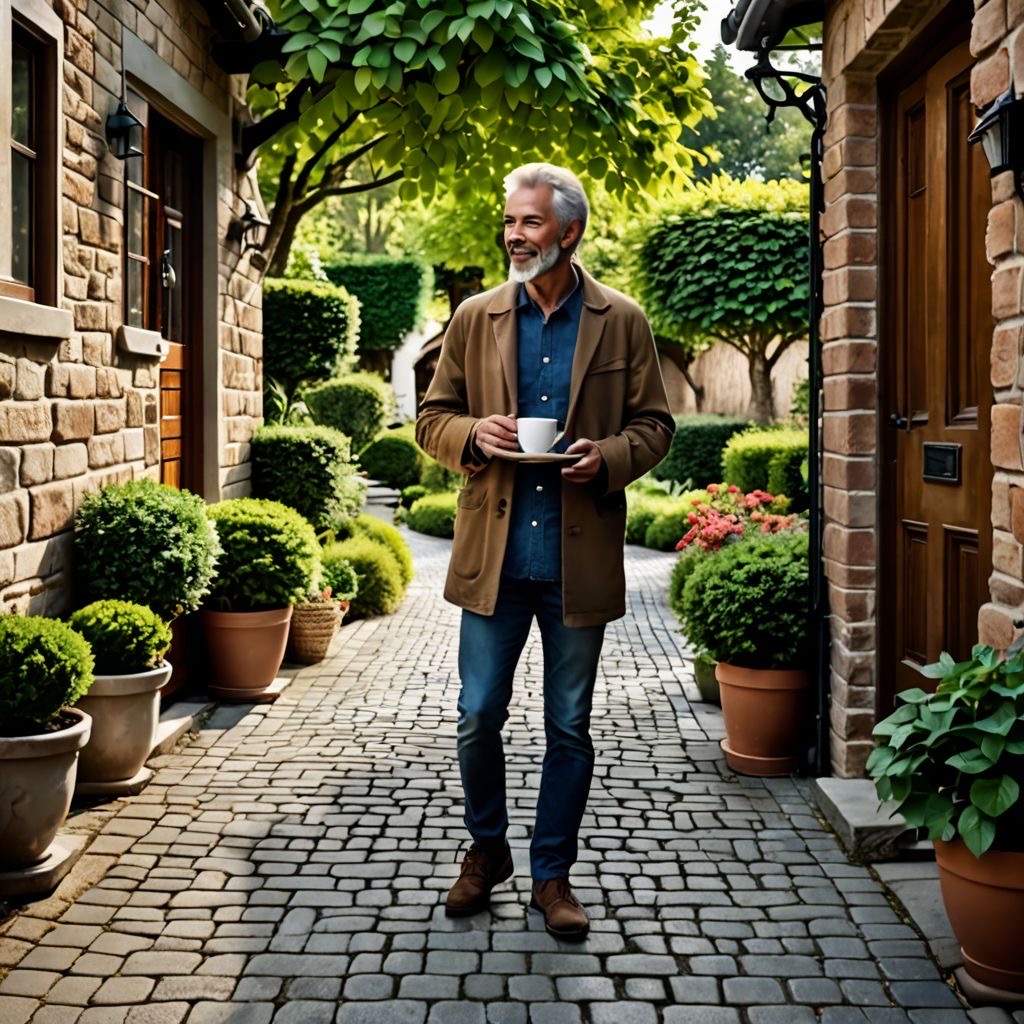
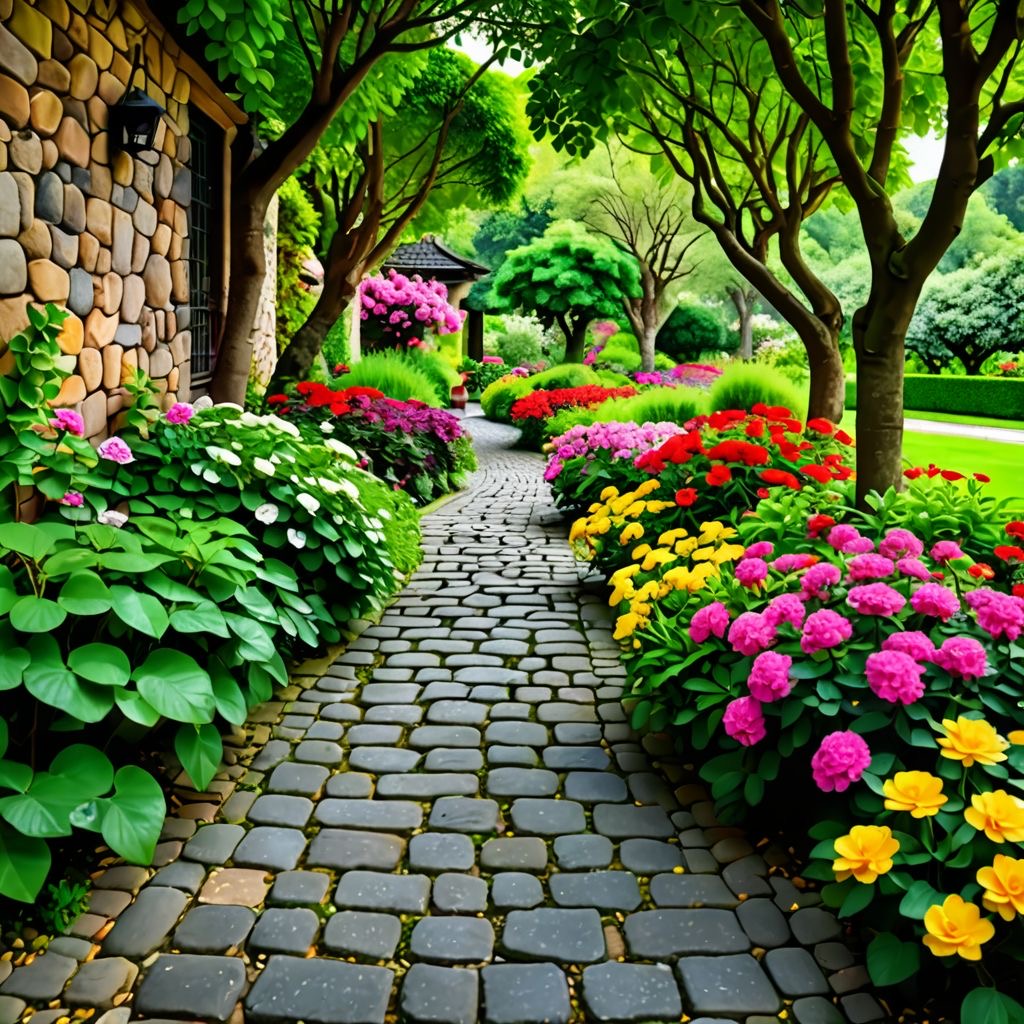
Picture this: It’s a beautiful spring day. You open your back door, coffee in hand, and are greeted not by a muddy, trampled mess of grass, but by a beautiful, winding paver walkway that guides you gracefully through your garden. This path didn’t appear by magic (though the feeling might be magical);
it’s the direct result of a savvy DIY hardscape project you tackled yourself. If your yard is currently more "moat" than "majestic" after the spring thaw, you’re not alone. The dream of a functional, gorgeous outdoor space feels urgent this time of year, and the good news is, it’s completely within your reach without requiring a second mortgage.
For years, Winnipeg Landscape experts and dependable landscaping services have been transforming yards across the city, proving that our challenging climate is no match for smart design and solid construction.
But what if you could capture that same feeling of accomplishment and beauty on your own terms and budget? That’s the power of a focused DIY project. The goal isn’t to replicate a commercial plaza but to build something personal, durable, and perfectly suited to your home. It’s about taking control and adding real, tangible value to your property with your own two hands.
When considering a project of this scale, many landscaping contractors Winnipeg homeowners have learned to rely on, emphasize that success starts with a plan. This is especially true for the dedicated DIYer. The path from idea to finished walkway is paved with research, preparation, and a bit of old-fashioned grit.
It’s about understanding not just the "how," but the "why: particularly why a stable base is non-negotiable in a city where the ground heaves with every freeze-thaw cycle. This guide is your companion through that entire process.
You might be wondering about ongoing care.
Fear not! Once built correctly, a paver walkway is a champion of low-maintenance design, asking for little more than an occasional sweep and rinse. It stands in beautiful contrast to the constant demands of lawn care.
This project is an investment in future leisure, not a new chore. By integrating smart landscape services and landscape maintenance principles from the start, you create a feature that endures.
More about what landscape features will add most value to a Winnipeg home
Now, let's talk about the elephant in the room: cost. The allure of affordable landscaping is strong, and for good reason. A professionally installed walkway is a significant investment.
The DIY route, however, can slash that cost dramatically, primarily by eliminating labor expenses. Your investment becomes materials, tools (some of which you can rent), and your valuable time.
By being your own project manager, you can make smart choices that align with your vision and your wallet. Remember, some of Winnipeg's best landscape contractors started with a single shovel and a big idea. Your project is the next great Winnipeg success story in the making. So, let’s roll up our sleeves and dig into the details of creating a walkway that could make your 2026 spring truly unforgettable.
Contact us today for your free estimate.
2. Chapter 1: Blueprint and Budget – Your DIY Hardscape Project’s Foundation
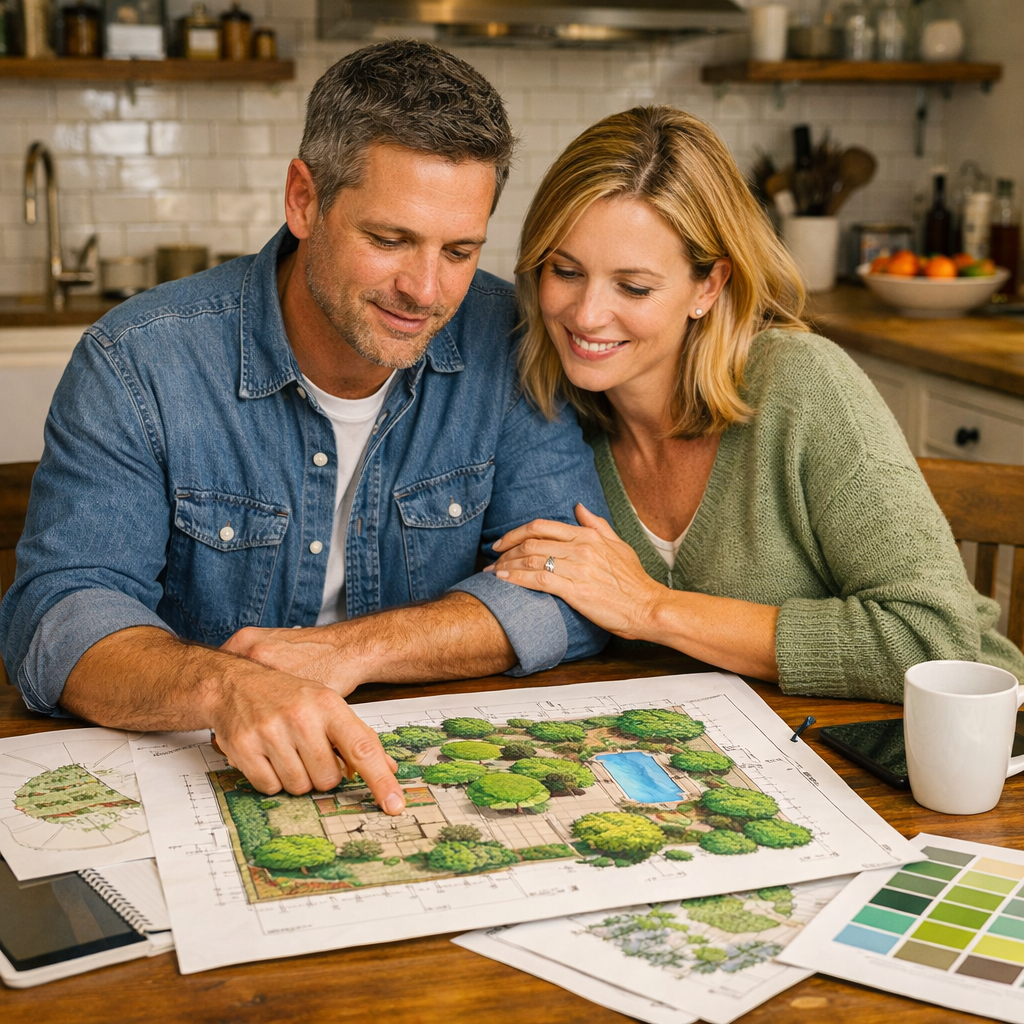
Before you buy a single paver or lift a shovel, success is forged on paper (or a digital screen). This planning phase is where you translate your spring daydream into a feasible, budget-conscious reality. Rushing this step is the most common DIY mistake; it’s like trying to bake a cake without a recipe—you might end up with something, but it probably won’t be what you envisioned.
Dreaming and Designing Your Hardscape Path
First, define your walkway’s purpose. Is it a formal, straight-shot entrance to your front door, adding crisp curb appeal? Or is it a meandering garden path meant for slow strolls and discovering hidden blooms?
The function dictates the form. A primary entrance path should be at least 4 feet wide to comfortably accommodate two people walking side-by-side. A secondary garden path can be a cozy 2 to 3 feet.
Read here about about City of Winnipeg permit requirements, contacting utilities and design tips
Next, grab some graph paper, a measuring tape, and some stakes and string. Head outside and physically mark the proposed route of your walkway. This visual is invaluable. Does the curve feel natural? Is the width proportional to your house and garden?
Take photos of your staked-out area from upstairs windows to get a bird’s-eye view. As you plan, remember a key Winnipeg-specific tip: gentle curves are not just aesthetically pleasing; they can also help with surface water runoff, a small but clever integration of drainage thinking into your design.

Sunshine Maintenance & Landscaping Winnipeg Case Study: Drainage
Crunching the Numbers for a Budget-Friendly Build
With a design in hand, you can build a realistic budget. This is where you transition from artist to accountant. The biggest cost drivers are:
Materials: Pavers, gravel, sand, and edges.
Tools: You may need to rent a plate compactor and a saw for cutting pavers.
Incidentals: Landscape fabric, polymeric sand, sealant, and safety gear.
To estimate material quantities, calculate the square footage of your walkway (length x width). For the base, you’ll need approximately 4-6 inches of compacted gravel, followed by 1 inch of leveling sand. Your paver supplier can help convert square footage into cubic yards of base material and the number of pavers needed, accounting for a small percentage for cuts and waste.
Pro Budget Tip:
Building a Budget-Friendly Paver Walkway often involves savvy material choices. While natural stone is stunning, concrete pavers offer a tremendous range of colors, textures, and shapes at a fraction of the cost. They are also uniformly sized, making installation easier for a first-timer. Furthermore, consider the "Dark Mode" aesthetic trend forecasted for 2026, which features elegant, deep tones like charcoal gray and slate. These darker pavers can hide winter salt stains and dirt better than light beige, a practical and stylish choice for our climate. Don’t forget to factor in the cost of delivery for these heavy materials.
Finally, and this is non-negotiable, add a contingency fund of 10-20% to your total budget. You might hit a rock the size of a small car, decide to add lighting later, or simply need more sand than planned. This cushion isn’t for impulsive upgrades; it’s your financial shock absorber against the unforeseen, ensuring your project doesn’t stall halfway through.
Contact us today for your free estimate.
3. Chapter 2: Material Mastery – Choosing Your Pavers and Base
Think of your walkway as a layered cake. The pavers are the delicious frosting everyone sees, but the real structural integrity comes from the layers beneath. Choosing the right materials for each layer is what separates a walkway that sinks and shifts after one Winnipeg winter from one that stays pristine for decades.

Paver Options for Style and Savings
Your paver choice defines the walkway’s character. Here’s a breakdown of popular, budget-conscious options:
Concrete Pavers:
The undisputed champion of DIY hardscape projects. They are cost-effective, incredibly durable, and come in a dizzying array of shapes (rectangular, square, cobble, etc.), colors, and even textures that mimic natural stone. Their uniform size makes calculating quantities and installation straightforward.
Brick Pavers:
Offer a classic, timeless look. They are durable and can develop a beautiful patina over time. They can be slightly more expensive than basic concrete pavers and may have more size variation, requiring a careful eye during installation to maintain consistent joints.
Natural Stone (Flagstone, Slate): Provides a unique, high-end, organic look.
Every piece is one-of-a-kind. However, it is the most expensive option, can be tricky to cut, and its irregular thickness requires a very skilled hand to lay evenly. For a first major DIY project, it’s often best to admire this option from a neighbor's yard.
Winnipeg Weather Wisdom: Our freeze-thaw cycle is brutal on surfaces. Regardless of material, ensure the pavers you select are rated for freeze-thaw environments.
Your local supplier will know which products meet this critical standard. Also, consider the paver's finish. A lightly textured or "tumbled" finish provides better slip resistance during our rainy springs and icy fall and winter seasons, than a perfectly smooth, polished surface.
Brought to You by Sunshine Maintenane & Landscaping:FAQs Hardscaping with Patio Stones, Pavers & Interlocking Brick
The Unsung Hero: Your Gravel and Sand Base
This is the most important part of your entire project. Skimp here, and you will be redoing the work in too few years. The base manages water, prevents frost heave, and provides a stable, unyielding platform for your pavers.
The Gravel Layer:
This is your primary drainage and stabilization layer. You want a coarse, angular gravel, often called "road base" or "crushed gravel" (¾-inch minus is a common specification). The angular pieces lock together when compacted, forming a solid, well-draining mass that won't wash away. Avoid smooth, round gravel like pea stone for this layer, as it shifts too easily.
The Sand Layer:
A 1-inch layer of coarse, concrete sand or specifically labeled "paver leveling sand" goes on top of the compacted gravel. This sand is not for drainage; its sole job is to provide a perfectly smooth, level bed for the pavers to rest on. It must be coarse to lock the pavers in place and not wash out. Never use fine play sand or beach sand.
4. Chapter 3: Groundwork for your Great White North (Winnipeg) Hardscape Project - Excavation and Base Prep
Now the physical work begins. This phase is less about finesse and more about brute strength and precision. It’s not glamorous, but doing it right is what makes your walkway "Winnipeg-proof."
Digging In: The Right Way to Excavate
Using your string lines as a guide, it’s time to excavate. Your total excavation depth is calculated by adding together:
- Paver thickness (e.g., 2 ⅜ inches)
- Sand bedding layer (1 inch)
- Gravel base layer (4-6 inches, compacted)
For example, with a 2⅜" paver, you'd dig down roughly 7.5 to 9.5 inches. It’s always better to dig a little too deep than not deep enough; you can always add more gravel. Use a spade to cut clean edges and a shovel to remove the soil. For larger projects, renting a small excavator or a "Ditch Witch" might be worthwhile.
Contact us today for your free estimate.
Critical Step:
Once excavated, the native soil at the bottom of your trench must be compacted. Use a hand tamper or, better yet, rent a plate compactor. Run it over the exposed soil several times. This prevents future settling that starts from the very bottom.
Building a Winnipeg-Worthy Foundation
Lay Landscape Fabric:
Before adding gravel, line the entire excavated trench with non-woven geotextile landscape fabric. This barrier prevents weeds from growing up through your base while still allowing water to drain down. It’s a simple, cheap layer of long-term protection.
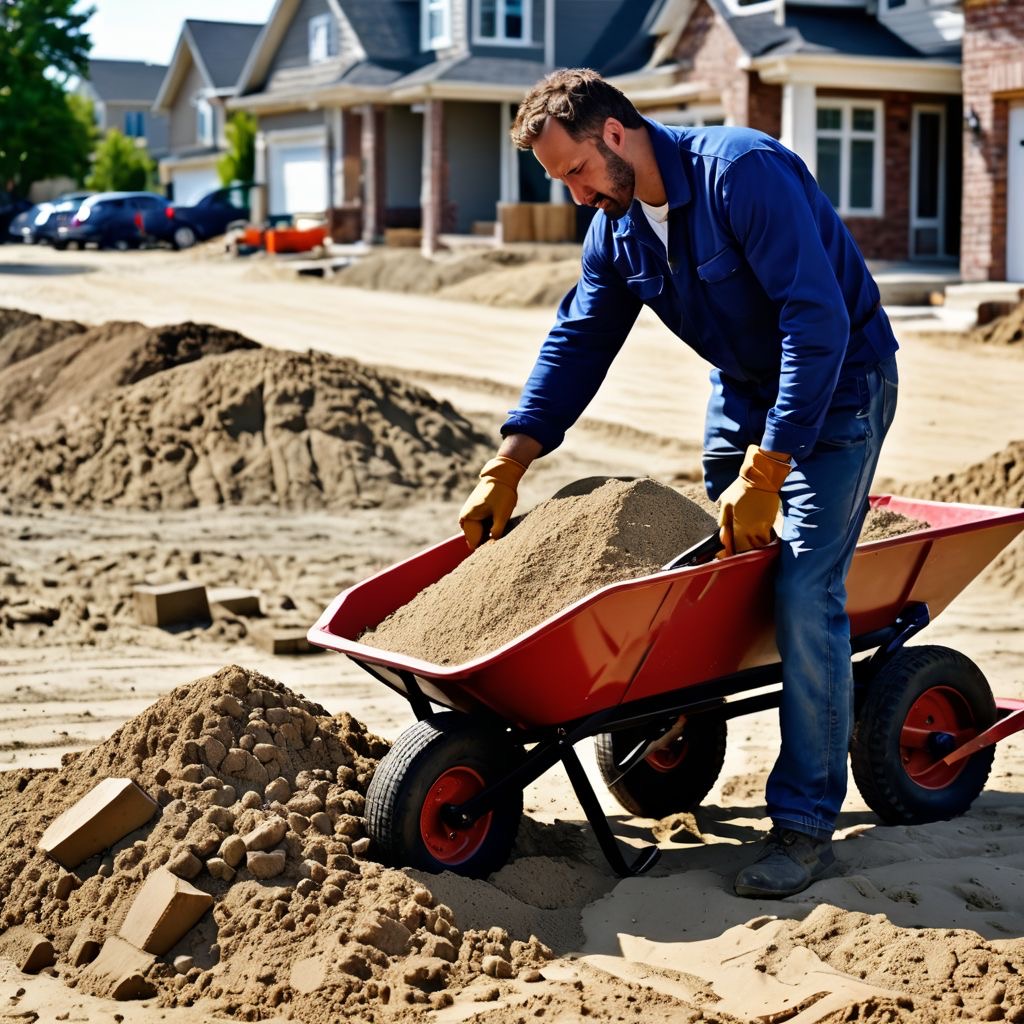
Add and Compact the Gravel: Pour in your crushed gravel in 2-inch layers (or "lifts").
Spread it roughly level with a rake, then run the plate compactor over it thoroughly. Add the next 2-inch lift, compact, and repeat until you reach the desired height. This layering-and-compacting method is crucial for achieving a "locked" base with maximum density and stability. Your finished gravel base should be rock-solid; you shouldn't be able to make an impression in it with your heel.
Install Edge Restraints:
Before adding sand, install plastic or metal paver edge restraints along the sides of your walkway. Secure them with long spikes driven into the ground. This restraint is vital—it holds the entire field of pavers in place, preventing them from spreading outward over time. It’s the belt that holds everything together.
5. Chapter 4: The Art of Installation – Laying, Cutting, and Setting Your Pavers
The moment has arrived: turning a gravel ditch into a beautiful walkway. This is where patience and attention to detail pay off in visible, gorgeous ways.
The Lay of the Land: Placing Your Pavers
First, lay down two 1-inch-diameter metal or PVC pipes on top of your compacted gravel, parallel to each other and about 5 feet apart. Pour your concrete sand between them, then use a long, straight 2x4 board (a "screed") to drag across the pipes, scraping off the excess sand and leaving a perfectly smooth, level, and 1-inch-deep sand bed. Carefully remove the pipes and fill the grooves with sand.
Begin laying pavers along your most prominent, straight edge (often against the house or a restraint). Follow your chosen pattern meticulously. Work from one corner outward, kneeling on the pavers you’ve already laid to avoid disturbing the sand bed. Leave a consistent gap between each paver (usually 1/8 to 1/4 inch) for the jointing sand. Use spacers or a handy trick: lay down two 16d nails between each paver as you go—they’re almost exactly 1/8 inch thick. Don’t hammer the pavers together; just set them gently side-by-side.
Edging and Cutting for a Perfect Fit
You will inevitably reach edges, curves, or obstacles that require cut pavers. For straight cuts, a simple brick set (a chisel for masonry) and hammer can work. For multiple or complex cuts, renting a masonry saw with a diamond blade is a game-changer. It’s fast, accurate, and produces clean, professional-looking cuts. Always wear safety glasses, hearing protection, and a dust mask when cutting pavers.
As you place cut pieces, ensure they are snug against the edge restraint and neighboring pavers. The goal is a uniform, tight field where every paver supports the ones around it.
Sunshine Maintenance & Landscaping Hardscape Experts Present a Winnipeg Hardscaping Case Study
Do you think you might like a hand with your Landscape and Hardscape goals?

Reach out Today by call or text to: 204-229-9789 or click here to submit your information today to arrange a “no obligation” introductory phone call. We look forward to helping you transform your yard.
Tips on how to prepare for a consultation meeting with a landscape or lawn care contractor
6. Chapter 5: The Finishing Touches – Sand, Sealing, and Long-Term Love
Your pavers are down. It looks amazing! But you’re not done yet. The final steps lock everything in place and protect your investment from the elements.
Locking It All In with Polymeric Sand
Initial Sweep:
Use a push broom to sweep a generous amount of dry polymeric sand over the entire walkway, working it into all the joints.
Compact the Surface:
Run your plate compactor over the entire paver surface (use a protective pad to avoid scratching). This vibrates the pavers, settles them fully into the sand bed, and jiggles more sand down into the joints.
Top Up and Sweep:
Add more polymeric sand and sweep until all joints are completely filled, just slightly above the paver surface.
The Magic Activation: This is crucial. Using a fine mist setting on your hose, gently spray the entire surface with water. You want to dampen the sand, not flood it and wash it away. The water activates the polymers in the sand. Let it dry completely (usually 24-48 hours). Once cured, this sand hardens, locking the pavers together, preventing weed growth, and stopping ants from building nests in the joints.
Protecting Your Investment from Prairie Extremes
After the polymeric sand has fully cured (check the product's instructions), consider applying a penetrating sealer. A high-quality sealant does two important things for Winnipeg walks:
Stain Protection:
It repels oil, grease, and the corrosive road salt that gets tracked onto the path, making winter cleanup much easier.
Color Enhancement: It brings out the rich colors of the pavers and helps protect them from UV fading.
Choose a "wet look" or a natural matte finish based on your preference. Apply it on a cool, dry, overcast day according to the manufacturer's directions. This final layer is like a durable, invisible shield for your hard work.
Maintenance Moving Forward:
Your walkway is now incredibly low-maintenance. Sweep it occasionally and rinse it with a hose once or twice a year. If you used salt in winter, a spring rinse is a good idea. Every few years, you may need to reapply sealant. Inspect the edges annually to ensure restraints are secure. That’s it! You’ve built something meant to last.
7. Conclusion: Step Back and Admire Your Handiwork
Look at what you’ve accomplished. That path winding through your yard is more than just a convenient way to get from point A to point B. It’s a testament to planning, perseverance, and skill. You didn’t just install pavers; you mastered site preparation, materials science, and the art of precision in the face of Winnipeg’s formidable climate. This DIY hardscape project has added undeniable function and curb appeal to your home, and the value it adds,both financial and in daily enjoymen, is immense.
As the spring gives way to summer, your walkway will become an integral part of your home’s story. It will guide guests to your door, frame your garden’s beauty, and provide a stable, mud-free route on rainy days. You’ll understand, intimately, why that 6-inch gravel base was worth every shovelful when the first deep freeze hits and your walkway remains steadfastly level. The knowledge you’ve gained about drainage, compaction, and material choices, is portable. Perhaps that small patio or fire pit area is now a less daunting prospect for next year.

This journey from concept to completion embodies the most rewarding kind of affordable landscaping. You invested not just money, but your time and effort, and the return is a custom, professional-grade feature built exactly to your taste. You’ve joined the ranks of Winnipeg homeowners who look at their landscape and see not just beauty, but a personal achievement.
So, the next time you walk down your new path, take a moment to appreciate the solid ground beneath your feet. You didn’t just build a walkway; you built confidence, pride, and a lasting legacy in your own backyard. Great work.